
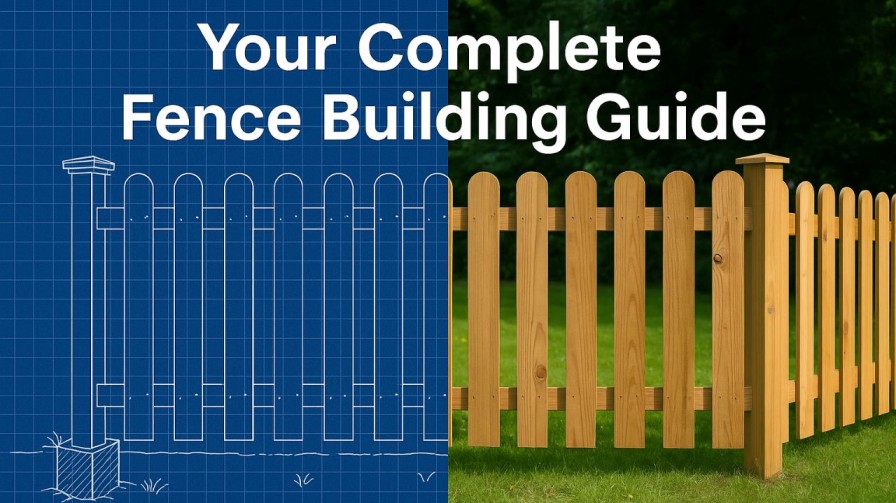
How to Install a Wood Fence: A Step-by-Step Guide
Installing a wood fence around your property enhances privacy, security, and aesthetic appeal. Whether you want to keep pets in, add a rustic touch, or simply mark property boundaries, a wood fence is a timeless solution. This comprehensive, step-by-step guide will show you exactly how to install a wood fence like a professional—even if it’s your first time tackling this type of DIY project.
Step 1: Planning and Preparation
Before grabbing a shovel, thorough planning is crucial.
Check Local Codes and Permits
- Contact your local municipality or zoning office to learn about fence regulations.
- Obtain a permit if required.
- Check HOA rules if you live in a community with a homeowners’ association.
Locate Property Lines
- Use your property survey or contact a land surveyor to avoid encroaching on a neighbor’s land.
- Mark the fence line with spray paint or string.
Call Before You Dig
- Dial 811 (in the U.S.) to have underground utility lines marked.
- Prevent accidents and avoid fines.
Step 2: Choose the Right Materials
Selecting durable, weather-resistant materials ensures a fence that lasts for years.
Popular Wood Types:
- Cedar – Naturally resistant to rot and insects.
- Pressure-treated pine – Affordable and durable.
- Redwood – High-end appearance with strong resistance to decay.
Essential Tools & Materials:
- Fence panels or pickets
- Fence posts (4×4 or 6×6)
- Gravel and concrete
- Nails or exterior screws
- String line, tape measure, level
- Post hole digger or auger
- Circular saw, hammer, drill.
Step 3: Mark Post Locations
- Use stakes and string to outline the fence.
- Measure and mark post locations every 6 to 8 feet, depending on the fence design.
- Use spray paint or a pencil on the string line to indicate post spots.
Step 4: Dig Post Holes
Use a post-hole digger or auger to dig holes for each fence post.
- Hole depth: ⅓ the post height (e.g., for a 6-ft fence, dig 2-ft deep holes).
- Width: About 3x the width of the post (typically 12 inches).
- Add 6 inches of gravel at the bottom for drainage.
Step 5: Set Fence Posts
- Place the post into the hole and pour fast-setting concrete around it.
- Use a level to ensure the post is plumb (vertically straight).
- Allow the concrete to set for 24 to 48 hours.
Tip: For additional stability, brace the post with temporary supports while the concrete sets.
Step 6: Attach Fence Rails or Panels
Once posts are set, install the horizontal rails or prefabricated fence panels.
For Rails and Pickets:
- Install bottom, middle, and top rails between posts using galvanized brackets or screws.
- Ensure rails are even and level.
- Attach individual pickets to rails with nails or deck screws, spacing them evenly (typically 2–3 inches apart).
For Fence Panels:
- Position the panel and attach it to the posts with screws or brackets.
- Use a level to make sure each panel is straight before attaching.
- Repeat along the entire fence line.
Step 7: Install Post Caps (Optional but Recommended)
- Add post caps to the top of each post to protect from water damage and prevent rotting.
- Choose from flat, decorative, or solar light styles.
Step 8: Stain or Paint Your Fence
Protect your investment with a weather-resistant stain or sealant.
- Wait until the wood is dry (usually 2–4 weeks) if using pressure-treated lumber.
- Apply a UV-resistant, waterproof stain or exterior paint.
- Use a brush, roller, or sprayer for even coverage.
Tip: Reapply every 2–3 years to maintain the fence’s integrity and appearance.
Step 9: Perform Regular Maintenance
Keep your wood fence looking great by performing routine maintenance.
- Inspect for loose boards, rotting posts, or rusted fasteners.
- Remove debris and clean dirt or mildew.
- Re-stain or reseal as needed.
Benefits of Installing Your Wood Fence
- Cost savings over hiring a contractor
- Personal satisfaction and pride in craftsmanship
- The ability to customize the style and layout
Whether you build a picket fence, a shadowbox fence, or a full-privacy enclosure, the satisfaction of completing the project is well worth the effort.
Conclusion: Build a Beautiful, Durable Fence
Installing a wood fence can seem intimidating at first, but with the right tools, materials, and this step-by-step guide, you can create a functional and attractive boundary for your home. From planning to finishing touches, every step is an opportunity to enhance your property’s curb appeal and value.
FAQs
1. Do I need to call 811 or utility companies before digging fence post holes?
Yes. Always call your local utility locating service (often 811) before you dig. They’ll mark gas, electric, water, and communication lines so you don’t hit anything underground when you install your fence posts. Skipping this step can be dangerous and may lead to fines or costly repairs.
2. How deep should wood fence posts be set for long-term stability?
A good rule is to bury at least one-third of the post’s length in the ground. In many residential projects, that means holes about 24–30 inches deep, depending on frost line and fence height. Deeper, properly backfilled holes help prevent leaning, heaving, and wobble over time.
3. Is it better to set posts in concrete or use packed gravel only?
Concrete offers maximum stability for most privacy and boundary fences, especially in windy areas. However, packed gravel can work well for shorter or decorative fences and provides better drainage. Some homeowners use a combo: gravel at the bottom for drainage and concrete around the post base near the surface.
4. Should I install fence boards with a small gap or tight together?
Boards installed too tight can swell, warp, or push against each other when they absorb moisture. Leaving a small, consistent gap—often the thickness of a nail or spacer—helps the wood expand and contract naturally, keeps the fence straighter, and improves airflow.
5. What’s the best time of year to install a wood fence?
You can install a wood fence almost any time the ground isn’t frozen and concrete can cure properly. Many homeowners prefer spring or early fall when temperatures are mild and soil is easier to work with. In very hot summers, you’ll just need to keep concrete from drying too fast and protect fresh wood from sun damage.

